
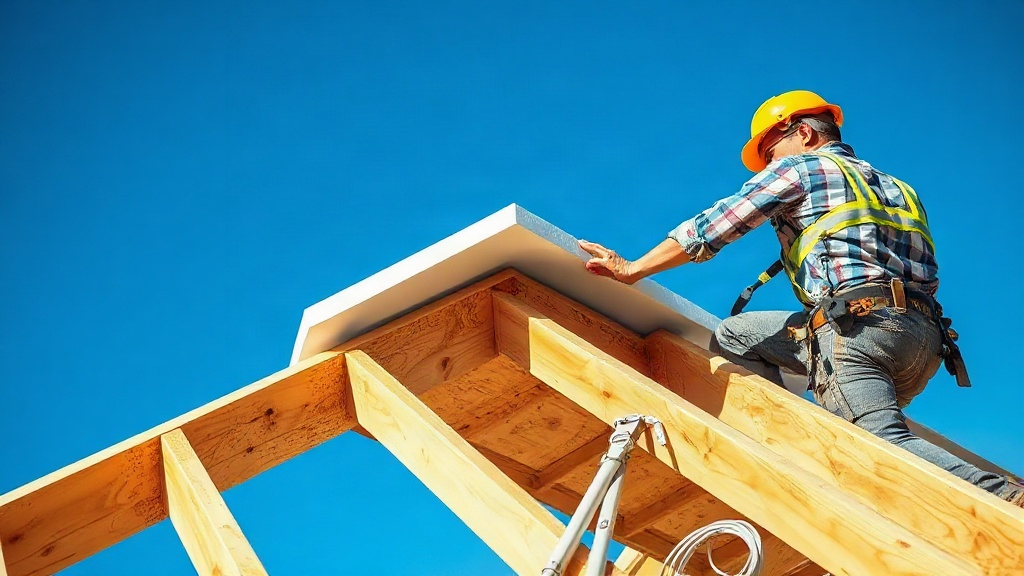
When it comes to roofing, Panel Installation & Specs are critical for achieving a durable, energy-efficient, and long-lasting roof. EPS (Expanded Polystyrene) roof panels have gained popularity for their excellent insulation properties and ease of installation. In this guide, we'll walk you through the essential specifications and provide a step-by-step installation process to help you get the job done right.
What Are EPS Roof Panels?
EPS roof panels are structural insulated panels (SIPs) that consist of a rigid foam core made of expanded polystyrene, sandwiched between two layers of oriented strand board (OSB) or plywood. These panels are used for roofing applications and offer superior thermal insulation compared to traditional roofing materials. They are lightweight, strong, and can be installed quickly, making them a favorite among builders and DIY enthusiasts.
Key Specifications of EPS Roof Panels
Before diving into installation, it's important to understand the specifications that affect performance and compliance:
- Thickness: Common thicknesses range from 4 to 12 inches, with higher thicknesses providing better insulation (higher R-value).
- R-value: EPS panels typically have an R-value of about 4 per inch of thickness. For example, a 6-inch panel provides approximately R-24.
- Density: Standard EPS density for roof panels is 1.0 to 1.5 pounds per cubic foot (pcf). Higher density offers greater compressive strength.
- Panel Size: Panels are usually 4 feet wide and up to 24 feet long, but custom sizes are available.
- Skin Material: OSB or plywood skins, typically 7/16-inch or 1/2-inch thick.
- Fire Rating: EPS panels should have a flame spread rating of 25 or less (Class A) when required by code.
Always check local building codes for specific requirements in your area.
Tools and Materials Needed
Gather these tools and materials before starting:
- EPS roof panels
- Lumber for splines and blocking (2x4s, 2x6s, etc.)
- Construction adhesive (foam-safe)
- Lag screws or structural screws
- Caulk or sealant
- Circular saw with a fine-tooth blade
- Drill
- Measuring tape
- Chalk line
- Safety gear (gloves, goggles, dust mask)
Step-by-Step Installation Guide
1. Prepare the Roof Structure
Ensure your roof framing (rafters or trusses) is level, square, and structurally sound. The spacing of rafters should not exceed the panel's span rating. Typically, EPS panels can span up to 8 feet between supports, but check the manufacturer's specifications.
2. Measure and Plan
Measure the roof area and plan the panel layout to minimize waste. Start from one end and work your way across. Account for overhangs and ridge caps.
3. Cut Panels to Size
Using a circular saw with a fine-tooth blade, cut panels to the required dimensions. For precise cuts, use a straight edge as a guide. Wear a dust mask to avoid inhaling foam particles.
4. Apply Adhesive and Position Panels
Apply a bead of foam-safe construction adhesive to the top of the rafters or to the panel's bottom skin. Position the panel onto the rafters, ensuring it's aligned with the chalk lines. Press firmly.
5. Secure Panels
Fasten panels to the rafters using lag screws or structural screws. Screws should be long enough to penetrate through the panel skin and into the rafter by at least 1-1/2 inches. Space screws every 6 to 8 inches along the edges and 12 inches in the field.
6. Install Splines and Blocking
Where panels meet, install splines (wood or foam) to connect them. Use blocking at the ridge, eaves, and around openings for added support. Secure splines with screws and adhesive.
7. Seal Joints and Penetrations
Seal all joints, gaps, and penetrations (like vents and chimneys) with caulk or sealant to prevent air and moisture infiltration. This step is crucial for energy efficiency and preventing rot.
8. Finish the Roof
Once panels are installed and sealed, you can apply your chosen roofing material (shingles, metal, etc.) following the manufacturer's instructions. Ensure proper ventilation to avoid moisture buildup.
Common Mistakes to Avoid
- Using the wrong adhesive that can degrade EPS foam.
- Not allowing for expansion and contraction.
- Insufficient fastening, leading to panel movement.
- Poor sealing of joints, causing air leaks.
- Ignoring local building codes and fire ratings.
Benefits of EPS Roof Panels
- Excellent insulation: Reduces energy costs for heating and cooling.
- Lightweight: Easier to handle and install than traditional roofing materials.
- Fast installation: Saves time and labor costs.
- Durable: Resistant to moisture, mold, and pests.
- Eco-friendly: EPS is recyclable and reduces carbon footprint.
Frequently Asked Questions
What is the R-value of EPS roof panels?
EPS panels have an R-value of approximately 4 per inch of thickness. So a 6-inch panel provides about R-24. Actual performance may vary based on density and manufacturer.
Can I install EPS roof panels over existing roof?
Yes, EPS panels can be installed over existing roof structures, but you must ensure the existing roof is structurally sound and flat. Consult a professional to assess.
How do I cut EPS roof panels?
Use a circular saw with a fine-tooth blade or a hot wire cutter for clean cuts. Always wear safety gear to protect against dust.
What type of screws should I use for EPS panels?
Use lag screws or structural screws that are long enough to penetrate the panel and into the rafter by at least 1-1/2 inches. They should have a corrosion-resistant coating.
Do EPS roof panels require ventilation?
Yes, proper ventilation is important to prevent moisture buildup. Ensure adequate airflow between the panels and the roofing material.
By following these guidelines, you can successfully install EPS roof panels and enjoy a well-insulated, durable roof for years to come. Always refer to the manufacturer's instructions and local building codes for specific requirements.