
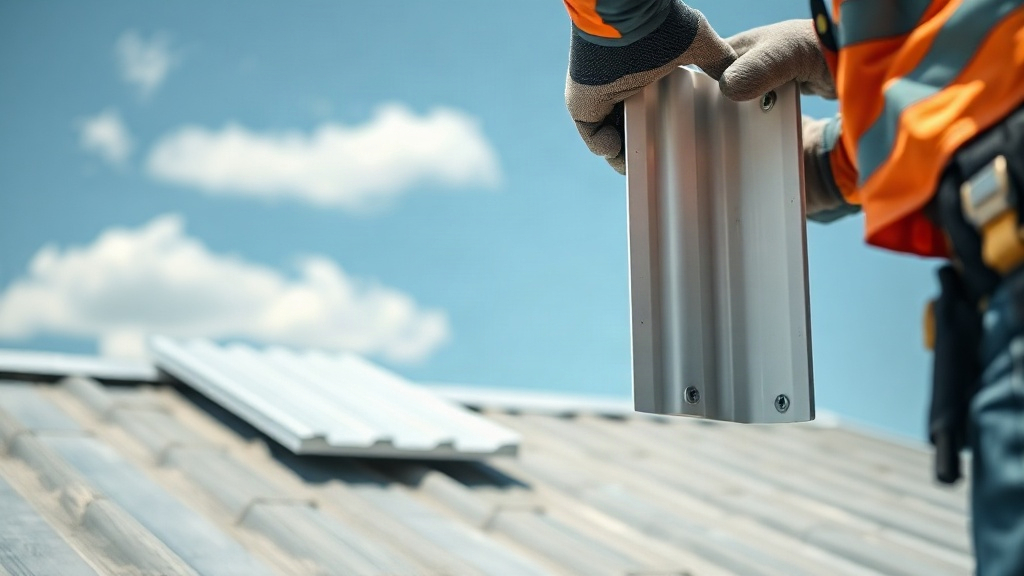
When I first started installing EPS roof panels, I made a costly mistake: I assumed they were just like any other insulated panel. That assumption cost me a day of rework and a tough conversation with the homeowner. Since then, I have installed hundreds of EPS panel roofs, from small sheds to large commercial buildings, and I have learned that the difference between a roof that lasts decades and one that leaks within a year often comes down to understanding the Panel Installation & Specs inside and out. In this guide, I will share the practical knowledge I wish I had on day one, focusing on real-world techniques and the specifications that actually matter.
Why EPS Panels? A Quick Reality Check
Expanded polystyrene (EPS) panels are not just foam sandwiched between two metal skins. The EPS core provides excellent thermal insulation, while the metal facings offer structural integrity and weather resistance. But not all EPS panels are created equal. The specs you choose dictate everything from load-bearing capacity to energy efficiency. I have seen too many installers grab whatever panel is on sale, only to regret it when the building fails an inspection or the roof sags under snow load. So before we dive into installation, let us get clear on the specifications that should drive your material selection.
Key Specifications You Cannot Ignore
When you order EPS panels, the supplier will ask for several specifications. Here is what each one means and why it matters on the job site.
Panel Thickness and R-Value
Thickness is measured in inches or millimeters, and it directly determines the R-value (thermal resistance). For roofing, common thicknesses range from 4 to 8 inches, yielding R-values from roughly R-16 to R-32. In colder climates, you will want to lean toward the higher end. I once installed 4-inch panels on a home in upstate New York, and the homeowner later complained about ice dams. We had to add insulation from below. Do not make that mistake: calculate your climate zone and building code requirements first. A good rule of thumb is R-30 for roofs in cold regions, but always verify with local codes.
Metal Skin Thickness and Finish
The metal facings are typically 26-gauge or 24-gauge steel, though aluminum is also available. Thicker gauges resist hail and foot traffic better. For roofs that will see maintenance access, I recommend 24-gauge. The finish matters too: a PVDF (polyvinylidene fluoride) coating holds up to UV and chemicals far better than polyester. On a coastal project, I learned that salt spray destroyed polyester-coated panels within three years. PVDF would have cost 15% more upfront but saved thousands in replacement.
Core Density and Compressive Strength
EPS core density is measured in pounds per cubic foot (pcf). Standard densities range from 1.0 to 2.0 pcf. Higher density means better compressive strength and less deflection under load. For roofs, you want at least 1.5 pcf. I have seen 1.0 pcf panels crush under a worker's knee, leaving permanent dents. That is not a risk worth taking.
Panel Width, Length, and Profile
Panels come in standard widths (often 36 or 42 inches) and custom lengths. Longer panels mean fewer seams, which reduces leak potential. However, longer panels are heavier and harder to handle. On a recent warehouse job, we used 40-foot panels to span the entire roof, eliminating seams. But we needed a crane and a crew of four. For a small garage, 12-foot panels are manageable with two people. The profile (ribbed, flat, or concealed-fix) affects both aesthetics and installation method. Concealed-fix panels are popular for their clean look, but they require precise alignment.
Installation Step by Step: What Actually Works
Now that you understand the specs, let us walk through the installation process. This is not a theoretical overview; it is the sequence I follow on every job, refined through trial and error.
1. Preparation and Safety
Before you touch a panel, ensure the substrate is ready. For roofs, that means purlins or joists are spaced correctly (typically 2 to 4 feet on center, depending on panel span). Check for squareness: measure diagonals. If they are off by more than 1/4 inch, fix it now. Also, have a safety plan. EPS panels are lightweight but awkward, especially in wind. I always check the forecast; anything above 15 mph and we postpone. And never forget fall protection. I have seen too many near-misses.
2. Lifting and Positioning
Use suction cup lifters or a spreader bar with straps to lift panels. Avoid lifting by the edges, which can bend the metal skin. Set the first panel square to the building line. This is critical: if the first panel is off, every subsequent panel will be off. I use a string line and a laser level to ensure perfection. Clamp the panel temporarily and check alignment before fastening.
3. Fastening: The Make-or-Break Step
Fasteners are where most installations fail. Use self-drilling screws with EPDM washers. The washer creates a watertight seal, but only if you do not overdrive the screw. Overdriving crushes the washer and creates a leak path. I set my drill clutch to a low setting and test on a scrap piece. Drive screws perpendicular to the panel, not at an angle. Space them according to the engineer's specs, typically 12 inches on center along seams and 24 inches in the field. For concealed-fix panels, follow the manufacturer's clip spacing exactly. I have seen panels blow off because someone thought they could save a few clips.
4. Sealing and Finishing
Seams and penetrations are the enemy. For exposed-fastener panels, apply a bead of butyl sealant between overlaps before fastening. For concealed-fix, the clips often have a sealant tape. At the ridge and eaves, use closure strips that match the panel profile. These prevent water and pests from entering. Finally, install flashing around chimneys, vents, and skylights. I like to use a two-part urethane sealant for these details; it adheres better than silicone and lasts longer. After installation, do a water test with a hose to check for leaks. Better to find them now than after the first storm.
Common Mistakes and How to Avoid Them
Even experienced installers slip up. Here are the ones I see most often, and how to steer clear.
- Ignoring thermal expansion: EPS panels expand and contract with temperature. If you fasten them too tightly, they will buckle. Always allow for movement at fixed points.
- Using the wrong fasteners: Not all screws are created equal. Use fasteners specifically designed for EPS panels; they have a wider thread and a sealing washer.
- Skipping the moisture barrier: In some climates, a vapor barrier under the panels is essential to prevent condensation. Check your local building code.
- Poor alignment: As mentioned, start square. Use a chalk line and check as you go. Fixing misalignment later is a nightmare.
- Not accounting for drainage: Ensure the roof slope is adequate (typically 1/4 inch per foot minimum). Standing water will eventually find a way in.
Frequently Asked Questions
How do I calculate the right EPS panel thickness for my roof?
Start with your climate zone and local building codes. For moderate climates, 4-inch panels (R-16) may suffice. For cold climates, aim for 6 to 8 inches (R-24 to R-32). Also consider load-bearing requirements: thicker panels span further without support. If unsure, consult a structural engineer. Online calculators can give a rough estimate, but nothing beats professional advice.
Can I install EPS panels over an existing roof?
Yes, but only if the existing roof is structurally sound and relatively flat. You will need to add purlins or a framing system to support the new panels. Never install directly over shingles or uneven surfaces without proper preparation. Also, check local codes; some areas prohibit overlaying roofs.
What is the best way to cut EPS panels on site?
For straight cuts, a circular saw with a fine-tooth carbide blade works well. For curves, use a jigsaw or a reciprocating saw. Always wear a dust mask and eye protection; EPS dust is irritating. To minimize mess, cut panels on a sacrificial surface and clean up immediately. I also keep a vacuum handy to suck up foam particles.
How do I prevent condensation under EPS panels?
Condensation occurs when warm, moist air meets a cold surface. Ensure proper ventilation in the attic space and consider adding a vapor barrier on the warm side of the insulation. In some cases, a breathable membrane under the panels can help. If you live in a humid climate, consult a building scientist; this is not a one-size-fits-all answer.
What maintenance do EPS roof panels require?
Very little. Inspect annually for loose fasteners, damaged seals, or debris. Clean with a mild detergent and water. Avoid pressure washing, which can force water into seams. If you notice a leak, fix it immediately to prevent core damage. With proper installation, EPS panels can last 30 years or more.
Installing EPS roof panels is not rocket science, but it does require attention to detail and respect for the specifications. By understanding the Panel Installation & Specs and following proven techniques, you can deliver a roof that performs beautifully for decades. Remember, the goal is not just to cover a building; it is to create a durable, energy-efficient envelope that protects what matters inside. Now, get out there and build something that lasts.