
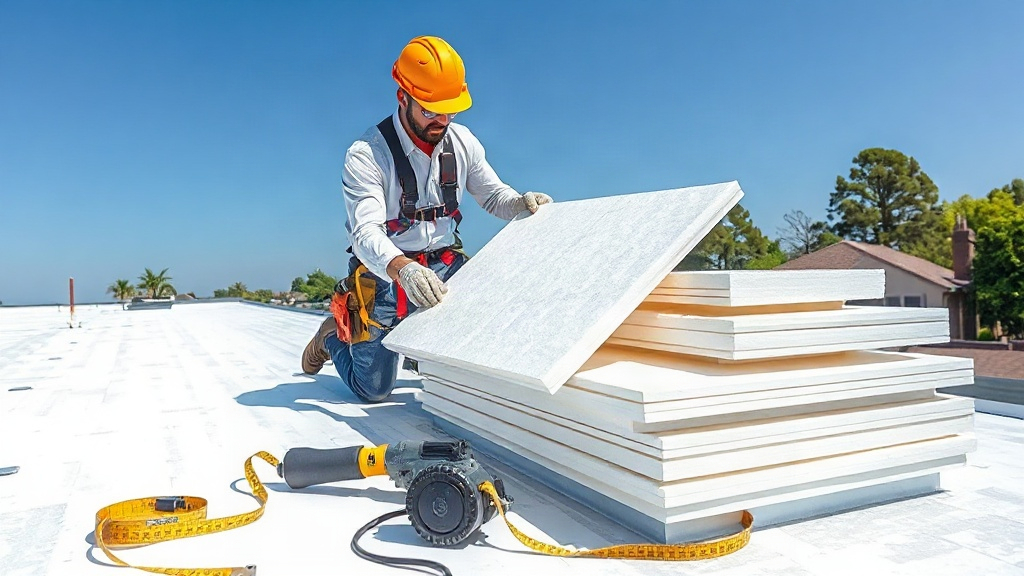
When it comes to roofing, the difference between a durable, energy-efficient roof and one that fails prematurely often comes down to the details of Panel Installation & Specs. Expanded polystyrene (EPS) panels have become a go-to choice for builders and homeowners alike because they combine insulation and structure in one lightweight package. But even the best materials can underperform if installation is rushed or specifications are ignored. In this guide, we'll walk through the critical specs you need to know and a step-by-step installation process that ensures a weather-tight, long-lasting roof.
Why EPS Panels Are a Smart Choice for Modern Roofs
EPS panels are not just another roofing fad. They offer a unique blend of benefits that address common pain points in construction: energy efficiency, speed of installation, and cost-effectiveness. Unlike traditional roofing systems that require separate insulation and structural layers, EPS panels integrate both, reducing labor and material costs. They are also lightweight, which means less structural stress and easier handling on site. For projects aiming for green building certifications, EPS panels can contribute points thanks to their thermal performance and recyclability.
Key Specifications You Must Know Before Installation
Before you even think about climbing onto the roof, you need to understand the specifications that dictate how EPS panels perform. These specs are not just numbers on a datasheet; they directly affect the longevity and efficiency of your roof.
Thickness and Density
EPS panels come in various thicknesses, typically ranging from 2 to 12 inches. The thickness you choose depends on your climate and desired R-value. For instance, in colder regions, you might opt for thicker panels to achieve a higher R-value per inch. Density, measured in pounds per cubic foot (pcf), affects compressive strength. Common densities are 1.0, 1.5, and 2.0 pcf. Higher density means better load-bearing capacity, which is crucial if the roof will support equipment or foot traffic.
R-Value and Thermal Performance
R-value measures thermal resistance. EPS typically has an R-value of about 3.6 to 4.0 per inch. However, this can vary with temperature and moisture. Always check the manufacturer's data for the specific product. Proper installation ensures that the R-value is not compromised by gaps or thermal bridging.
Compressive Strength
Compressive strength is vital for withstanding loads from snow, wind, and maintenance. EPS panels generally have compressive strengths between 10 and 60 psi. For roof applications, a minimum of 15 psi is often recommended, but check local building codes for requirements.
Water Absorption and Moisture Resistance
EPS has low water absorption, but it is not waterproof. Proper detailing and a good roofing membrane are essential to prevent moisture intrusion. Specs will include water absorption rates, typically less than 2% by volume.
Fire Performance
EPS contains flame retardants, but it still needs to be covered with a fire-rated barrier, such as a gypsum board or a roofing membrane with a Class A rating. Check the fire classification of the entire assembly, not just the EPS.
Step-by-Step Installation Guide
Installing EPS panels is a systematic process. Rushing or skipping steps can lead to costly problems down the road. Here's a detailed breakdown.
1. Preparation and Safety
Before installation, ensure the roof deck is clean, dry, and structurally sound. Repair any damage. Gather all materials: EPS panels, adhesive, fasteners, roofing membrane, and flashing. Safety first: wear appropriate PPE, including gloves, safety glasses, and fall protection. Check weather forecasts; avoid installation in high winds or rain.
2. Measuring and Cutting
Measure the roof area accurately. Plan the layout to minimize waste. Cut panels using a hot wire cutter or a fine-toothed saw. For straight cuts, a utility knife works for thinner panels. Ensure cuts are clean and precise for a tight fit. Remember, gaps can reduce insulation performance.
3. Applying Adhesive
Use a manufacturer-approved adhesive. Apply it in beads or ribbons according to the instructions. Typically, you'll apply adhesive to the substrate or the back of the panel. Avoid using too much adhesive, as it can cause unevenness. Work in small sections to prevent the adhesive from skinning over before you place the panel.
4. Placing and Securing Panels
Press the panel firmly into place. Ensure full contact with the adhesive. Use mechanical fasteners (screws with washers) at the edges and in the field as per specs. Fasteners should be flush with the panel surface, not overdriven. Stagger panels in a brick pattern to avoid continuous seams.
5. Sealing Joints and Edges
Seal all joints with a compatible sealant or tape. This step is critical for air and moisture control. Use flashing at edges, penetrations, and transitions to other roof areas. Proper flashing prevents water from seeping under the panels.
6. Installing the Roofing Membrane
Once panels are secure, install the roofing membrane. This could be a single-ply membrane (EPDM, TPO), modified bitumen, or a coating system. Follow the membrane manufacturer's instructions for adhesion and seam sealing. The membrane is your primary waterproofing layer, so pay attention to details.
7. Final Inspection and Maintenance
After installation, inspect the roof for any gaps, loose fasteners, or damaged panels. Address issues immediately. Schedule regular maintenance to prolong the roof's life. Check for signs of moisture, such as stains or soft spots, and repair promptly.
Common Mistakes to Avoid
Even experienced installers can make mistakes. Here are some pitfalls to watch out for:
- Ignoring expansion and contraction: EPS panels expand and contract with temperature changes. Leave adequate gaps at edges and between panels to prevent buckling.
- Using incompatible adhesives: Some solvents can degrade EPS. Always use adhesives specifically designed for EPS.
- Poor flashing details: Flashing is your first line of defense against water. Take time to do it right.
- Overdriving fasteners: This can crush the EPS and reduce its insulating value. Use a screw gun with a depth-sensitive nose.
- Skipping a vapor barrier: In some climates, a vapor barrier is necessary to prevent condensation. Consult local codes.
Frequently Asked Questions
What is the minimum thickness for EPS roof panels?
The minimum thickness depends on your climate and building code. In moderate climates, 2 inches might suffice, but colder regions may require 6 inches or more to achieve the desired R-value. Always consult a professional to determine the right thickness for your project.
Can I install EPS panels over an existing roof?
Yes, EPS panels can be installed over an existing roof if the structure can support the additional weight and the existing roof is in good condition. However, it's often better to remove the old roof to inspect the deck and avoid trapped moisture. Check with a structural engineer.
How do I cut EPS panels without making a mess?
Use a hot wire cutter for clean cuts with minimal dust. If using a saw, choose a fine-toothed blade and cut slowly. Work in a well-ventilated area and wear a dust mask. A vacuum attachment can help contain debris.
What type of fasteners should I use for EPS panels?
Use screws with large, flat washers designed for EPS. They should be long enough to penetrate the deck securely but not so long that they protrude. Stainless steel or coated screws are best for corrosion resistance. Follow the panel manufacturer's recommendations for spacing.
How long does EPS panel installation take?
Installation time varies with roof size and complexity. A typical residential roof might take 2-4 days for a professional crew. DIY installation could take longer. Proper planning and preparation can speed up the process.